
Running Ubuntu directly from either a USB stick or a DVD is a quick and easy way to experience how Ubuntu works for you, and how it works with your hardware. Most importantly, it doesn’t alter your computer’s configuration in any way, and a simple restart without the USB stick or DVD is all that’s needed to restore your machine to its previous state.
Install Ubuntu onto USB flash drive
This example, we are going to install Ubuntu using a Windows machine. Your USB flash drive should be at least 1GB in size.
- First,you need to download Ubuntu 20.04.1 LTS and the Universal USB Installer.
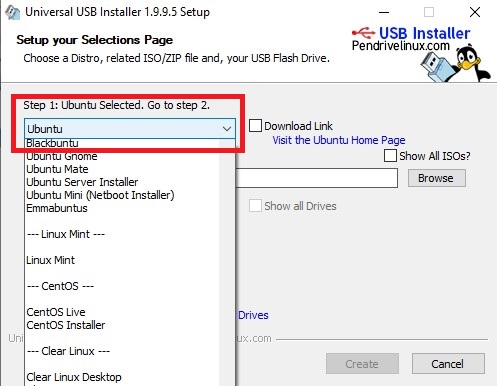
- Then Double-click on Universal-USB-Installer-1.8.5.6.exe and after accepting the license agreement, select Ubuntu from the drop-down list.
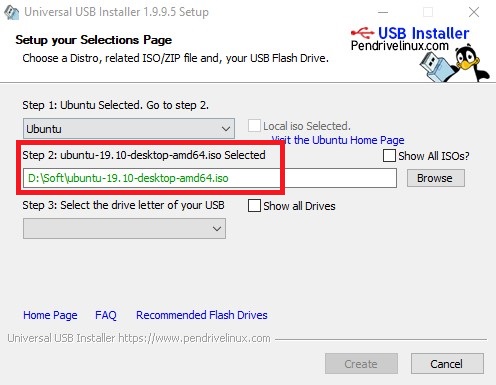
3. Browse and select the Ubuntu ISO file you just downloaded.
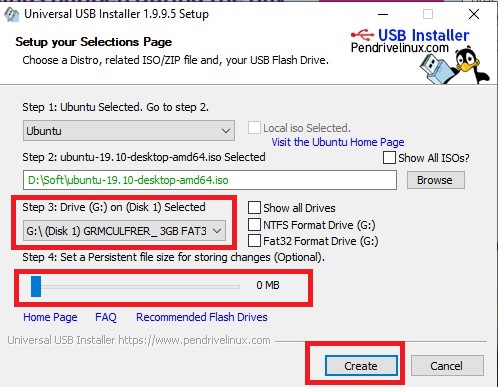
4. Select the drive letter of the USB flash drive you want to put Ubuntu onto and check the box to format the USB flash drive. Make sure persistent file size is set to 0MB, then click the Create button.
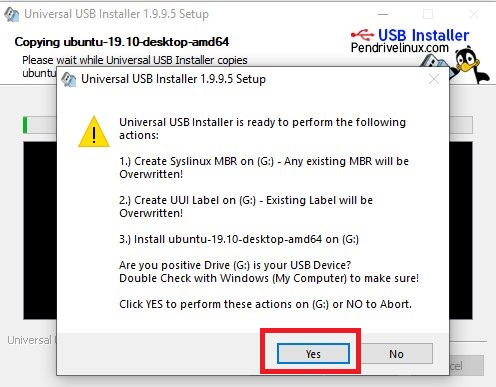
5. The confirm the details of the install then click the Yes button.
Run Ubuntu LIVE
Step 1:
Make sure that your computer’s BIOS is set to boot from USB devices then insert the USB flash drive into a USB 2.0 port. Turn your computer on and watch it boot to the installer boot menu.
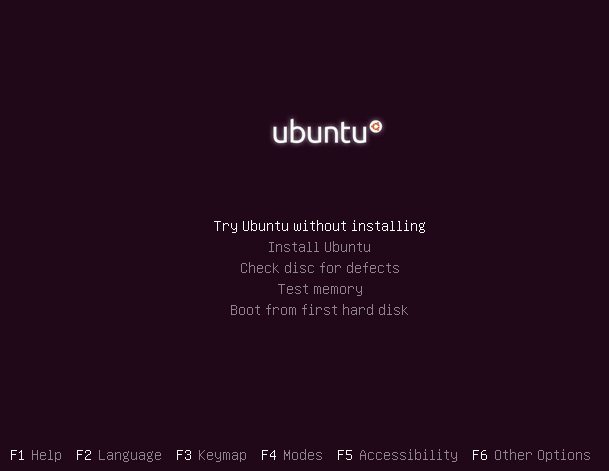
Step 2:
At the installer boot menu, select “Run Ubuntu from this USB.”
Step 3:
You’ll see Ubuntu live start-up and eventually get the Ubuntu desktop. From here, you can configure your Wi-Fi and use the included Firefox browser to access the Internet.
How to dual boot Ubuntu & Windows –> Read more…


Recent Comments